DIY Guide to Painting and Wall Preparation: Turn Tired Walls Into Lasting Color
Chosen theme: DIY Guide to Painting and Wall Preparation. Welcome! If you’ve ever stared at scuffed walls and wished for a fresh start, this friendly guide will walk you from messy beginnings to a smooth, durable, professional-looking finish—step by step. Subscribe and join the conversation as we paint smarter together.
Hold a bright flashlight at a low angle and slowly scan walls to highlight dings, nail pops, and roller texture. Mark each flaw with painter’s tape. The first time I tried this, I found more imperfections than I wanted—but far fewer repaint regrets. What did you spot?
Build Your Wall-Prep Toolkit: Essentials That Prevent Do-Overs
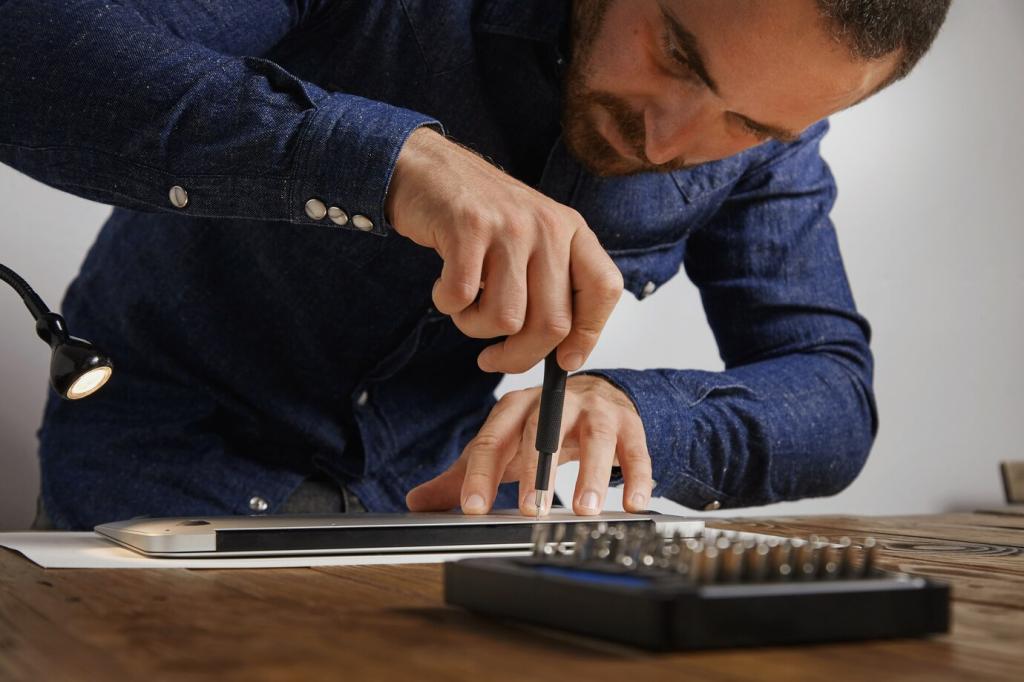
Gather a 6-in-1 painter’s tool, sanding blocks, a pole sander, utility knife, caulk gun, shop vac, and a good respirator. Add rags, microfiber cloths, and a sturdy step stool. These basics prevent sloppy edges and reduce dust clouds that sabotage fresh paint. What’s missing from your kit?
Build Your Wall-Prep Toolkit: Essentials That Prevent Do-Overs
Use lightweight spackle for tiny holes, setting-type joint compound for deeper repairs, and paintable acrylic or elastomeric caulk for gaps. Remember: fast-drying products can shrink, so build in thin layers and sand gently. Prime patched spots. Subscribe for our detailed comparison chart and brand-neutral test results.
Wash high-touch areas with a TSP substitute or a mild degreaser, rinse well, and let them dry completely. Lightly scuff glossy paint with 220-grit to improve adhesion. A quick microfiber wipe before priming dramatically reduces fisheyes and bumps. It’s not glamorous, but it’s gold for durability.
Clean and Prepare Surfaces: The Unskippable Steps
Sand patched spots slightly wider than the repair so edges feather seamlessly into existing paint. Use a pole sander for broad areas and keep pressure light to avoid gouges. Finish with 220-grit. A raking light reveals swirl marks before they embarrass you later. Share your sanding wins and woes.
Clean and Prepare Surfaces: The Unskippable Steps
When Primer Is Non-Negotiable
Bare drywall, patched areas, glossy oil paint, smoke residue, and drastic color changes all demand primer. Tinted primer helps bold colors cover faster. Skipping primer often means extra coats later and uneven sheen. Invest one step now to reclaim two later. What surfaces in your home are shouting “Prime me”?
Pick the Right Primer for the Job
Use PVA primer for new drywall, bonding primer for glossy finishes, and shellac or alkyd for knots and water stains. Water-based primers keep odors low, but ventilate regardless. If adhesion is questionable, do a crosshatch test. Which primer has earned your trust, and why?
A Stain That Wouldn’t Quit
I fought a tea-brown ceiling stain after a minor leak. Two coats of latex primer failed; one coat of shellac stopped it cold. Spot-prime stains, then prime the whole area for uniform sheen. Subscribe for our upcoming stain-blocking walkthrough with photos.
Masking, Edges, and Protection: Crisp Lines, Zero Drama
Tape Types and Perfect Timing
Choose delicate-surface tape for fresh paint and multi-surface for older walls and trim. Press edges firmly with a plastic card. Remove tape while paint is slightly tacky to avoid tearing. Don’t wait days. What’s your timing sweet spot for the cleanest peel?
Guard Floors, Fixtures, and Airflow
Use canvas drop cloths for traction and rosin paper for hallways. Cover switches and vents, bag doorknobs, and wrap lights. Keep air moving for drying, but avoid dusty fans. A little protection equals a lot less cleanup. What’s your most clever masking hack?
Application Techniques: Roll, Brush, or Spray With Confidence
Load the roller evenly, start with a big W, and maintain a wet edge by overlapping passes. Roll from the dry area into the wet to avoid lap marks. Match roller nap to texture: 3/8″ for smooth, 1/2″ for light orange peel. What’s your go-to roller nap?
Application Techniques: Roll, Brush, or Spray With Confidence
If you try a sprayer, mask like a maniac. Practice on cardboard to dial pressure and fan width. Back-roll to level. Respect overspray and wear a respirator. The speed is real, but so are the risks. Curious? Drop your sprayer questions and we’ll demystify the settings.
