Shine On: Installing and Troubleshooting Light Fixtures
Chosen theme: Installing and Troubleshooting Light Fixtures. Whether you’re hanging a pendant or silencing a stubborn flicker, this friendly guide brings practical steps, field-tested tips, and real stories to help you work safer and smarter. Subscribe for new fixes, and ask questions anytime.
Plan, Protect, and Power Down
Label the breaker, shut off power, and verify with a non‑contact voltage tester at the switch and ceiling box. Double‑check again before touching any conductor. A minute of caution beats hours of repairs.
Plan, Protect, and Power Down
Confirm your electrical box is listed for fixture support and ceiling fan loads when needed. Use the correct mounting strap and screws. Heavy fixtures need listed boxes or braces, not drywall anchors or guesses.
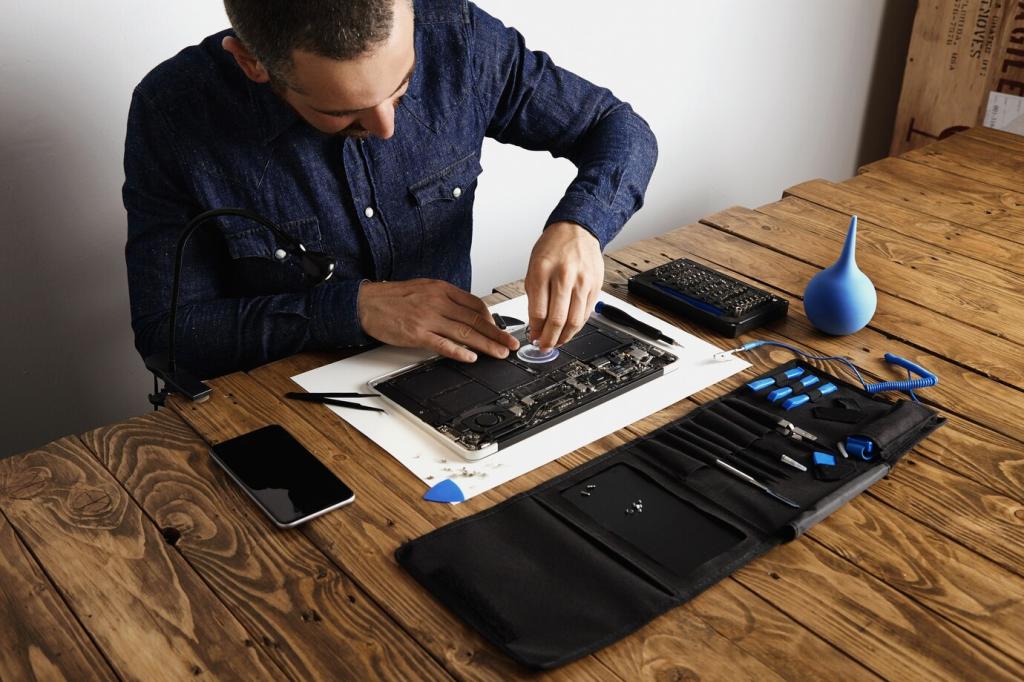
Tools and Materials That Make the Job Easy
Non‑contact voltage tester, combination stripper, insulated screwdriver set, headlamp, torpedo level, and needle‑nose pliers cover most installs. A small parts tray prevents losing tiny screws that fixtures always seem to hide.
Verify the box is secure to framing or a brace. Install the mounting bracket flush and level, leaving room for the canopy. Pre‑thread machine screws so you’re not juggling parts above your head.
Join supply hot to fixture hot, supply neutral to fixture neutral, and bond all grounds together with a pigtail to the box or bracket. Keep splices short, caps tight, and conductors neatly folded.
Set the canopy, snug screws evenly, and confirm the fixture is level from two directions. Restore power, test the switch, then try dimming. If anything buzzes or flickers, power down and recheck splices immediately.
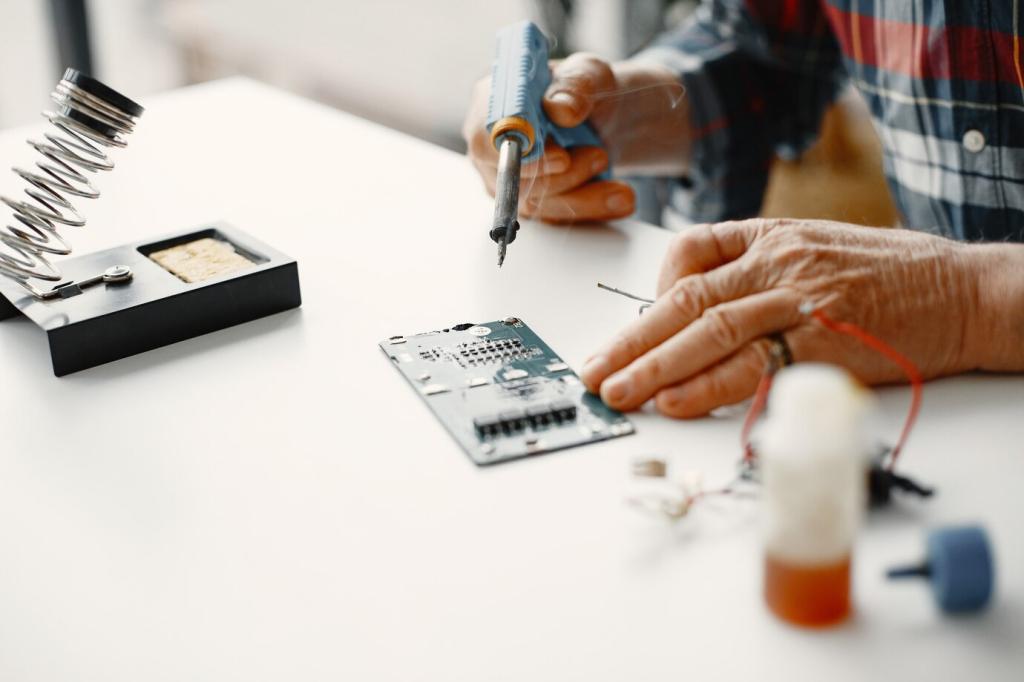
Start with bulbs and breakers, then test for voltage at the switch and box. Look for a loose neutral bundle, mislabeled switch leg, or back‑stabbed connection. Replace questionable parts instead of reseating repeatedly.
Chasing Flickers, Hums, and Buzzing
Most flickers trace to dimmer and LED incompatibility or a loose connection. Verify dimmer model and driver specs, then tighten wirenuts. Persistent hum often disappears after switching to a listed compatible dimmer.
Breaker Trips and Warm Switches
A tripping breaker suggests a short or overload. Inspect for pinched insulation behind the canopy or screw‑pierced conductors. Warm switches indicate incompatibility or excessive load—downsize the wattage or upgrade the control.
Dimmers, Smart Controls, and Compatibility
Match Dimmer Types to Your Fixture
Use leading‑edge dimmers for some incandescent loads and trailing‑edge (ELV) for many LEDs. Check manufacturer compatibility charts. A correct pairing reduces flicker, extends lifespan, and keeps brightness smooth at low levels.
A reader chased a dead fixture for hours. The culprit was a loose neutral in a crowded box. One proper pigtail and torque later, the pendant lit instantly and stayed stable for months.