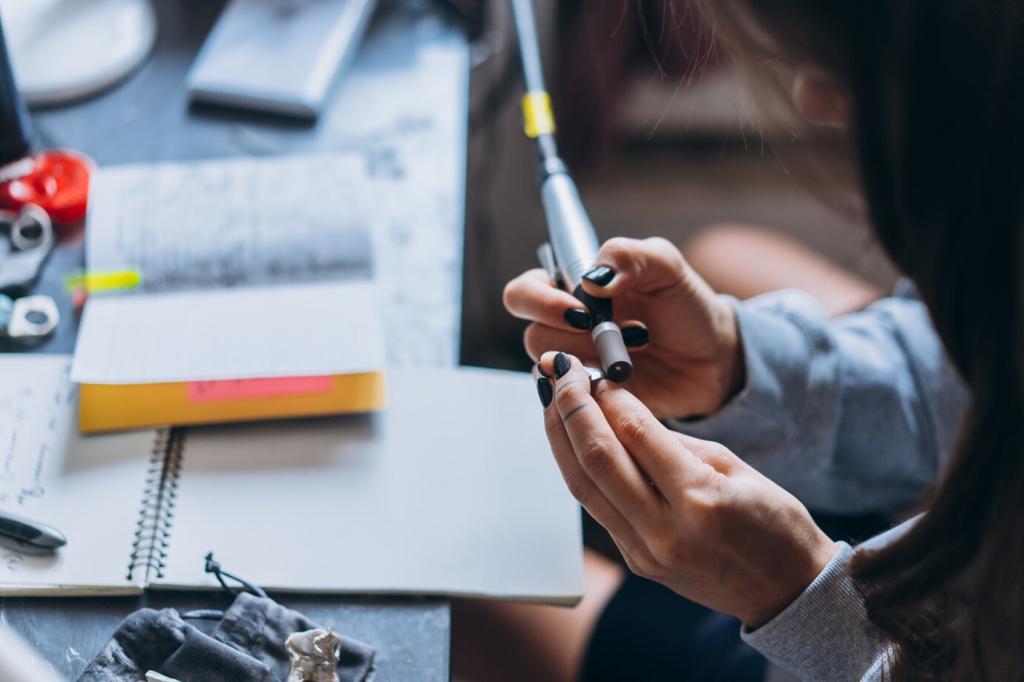
Gather Your Tools and Parts
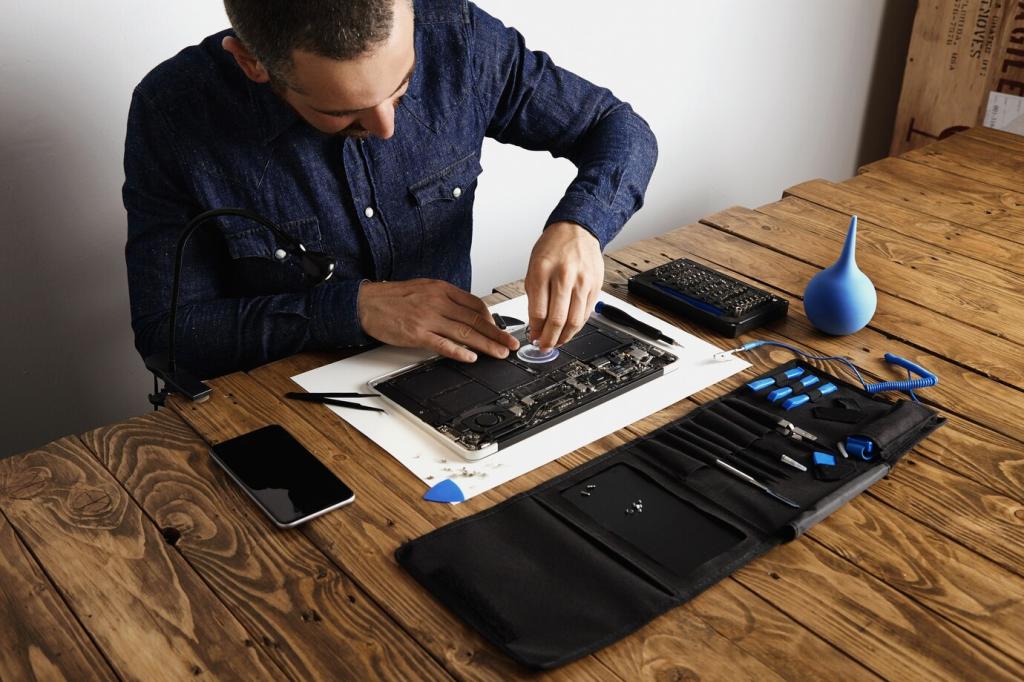
You’ll usually need an adjustable wrench, Phillips and flathead screwdrivers, a hex key set, needle-nose pliers, plumber’s tape, rags, and a small bowl for parts. A phone camera for reference photos and a towel to protect the sink are surprisingly helpful, too.
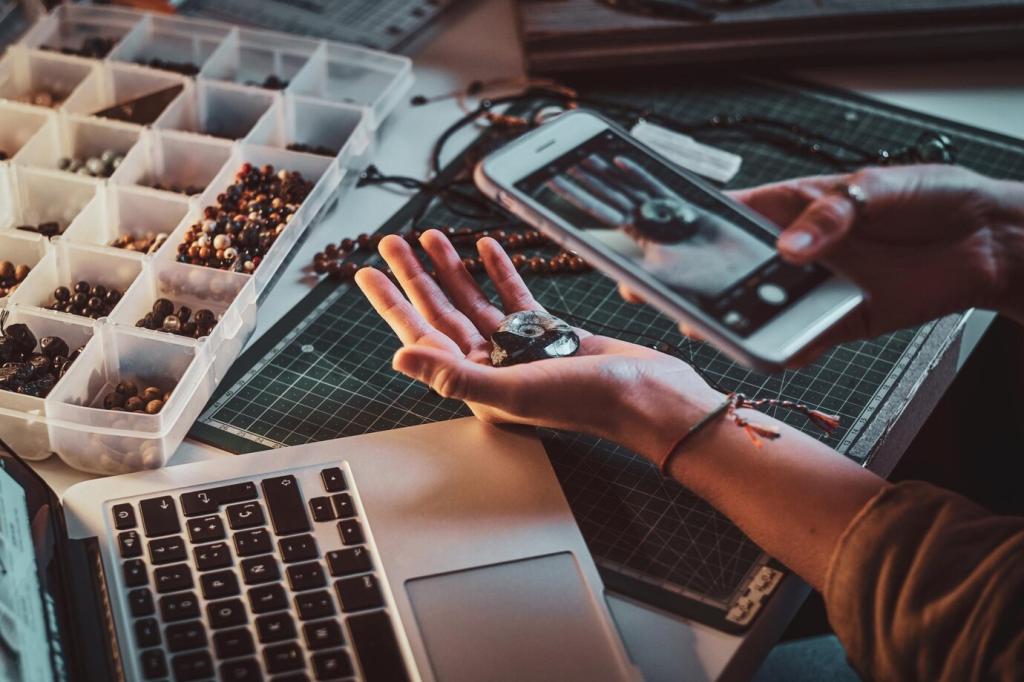
Gather Your Tools and Parts
Bring the old cartridge, O-ring, or washer to the hardware store. If that’s not possible, photograph the valve body and brand logo. Universal kits exist, but matching exact dimensions prevents future drips. Ask staff to confirm fit before you head home satisfied.
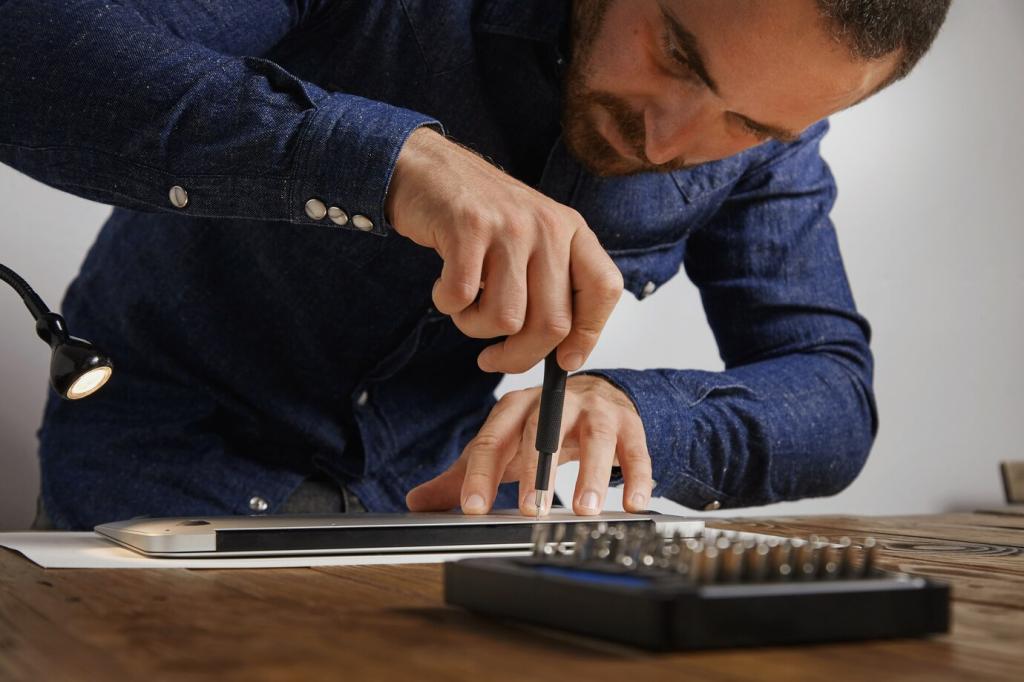
Gather Your Tools and Parts
Shut off the water supply under the sink, then open the faucet to release pressure. Plug the drain with a stopper or cloth to catch screws. Lay parts out in removal order. Comment with a photo of your setup if you want a quick double-check before proceeding.